I wanted to progress at least one short section of the walls, to see if all is feasible what I had planned. Since soon I would want to use the camper again, I would need the bedroom. The windows are in, the solar panels attached, so there is nothing anymore which prevents me to try completing a whole brief section to its final specification.
I had bought Styrofoam in 2 thicknesses: 3cm and 1cm, plus a sack of mineral wool (Knauf product). I also had gotten high-temperature glue for attaching things to the walls, which could get very hot (50 deg C).


First I removed completely the already rotten boards at the bottom and cleaned the groove as good as I could.
 |
| Bedroom, left side. |
 |
| Bedroom, right side. |
My friend and neighbor Bernd Grube has offered me to use his Styrofoam cutter. It cuts through Styrofoam with a hot wire and creates an excellent straight cut.


A second segment was done the same way. All the gaps were filled with the mineral wool, so that there would be no cavity where any air could heat up from the hot metal, when the vehicle stands in the sun.
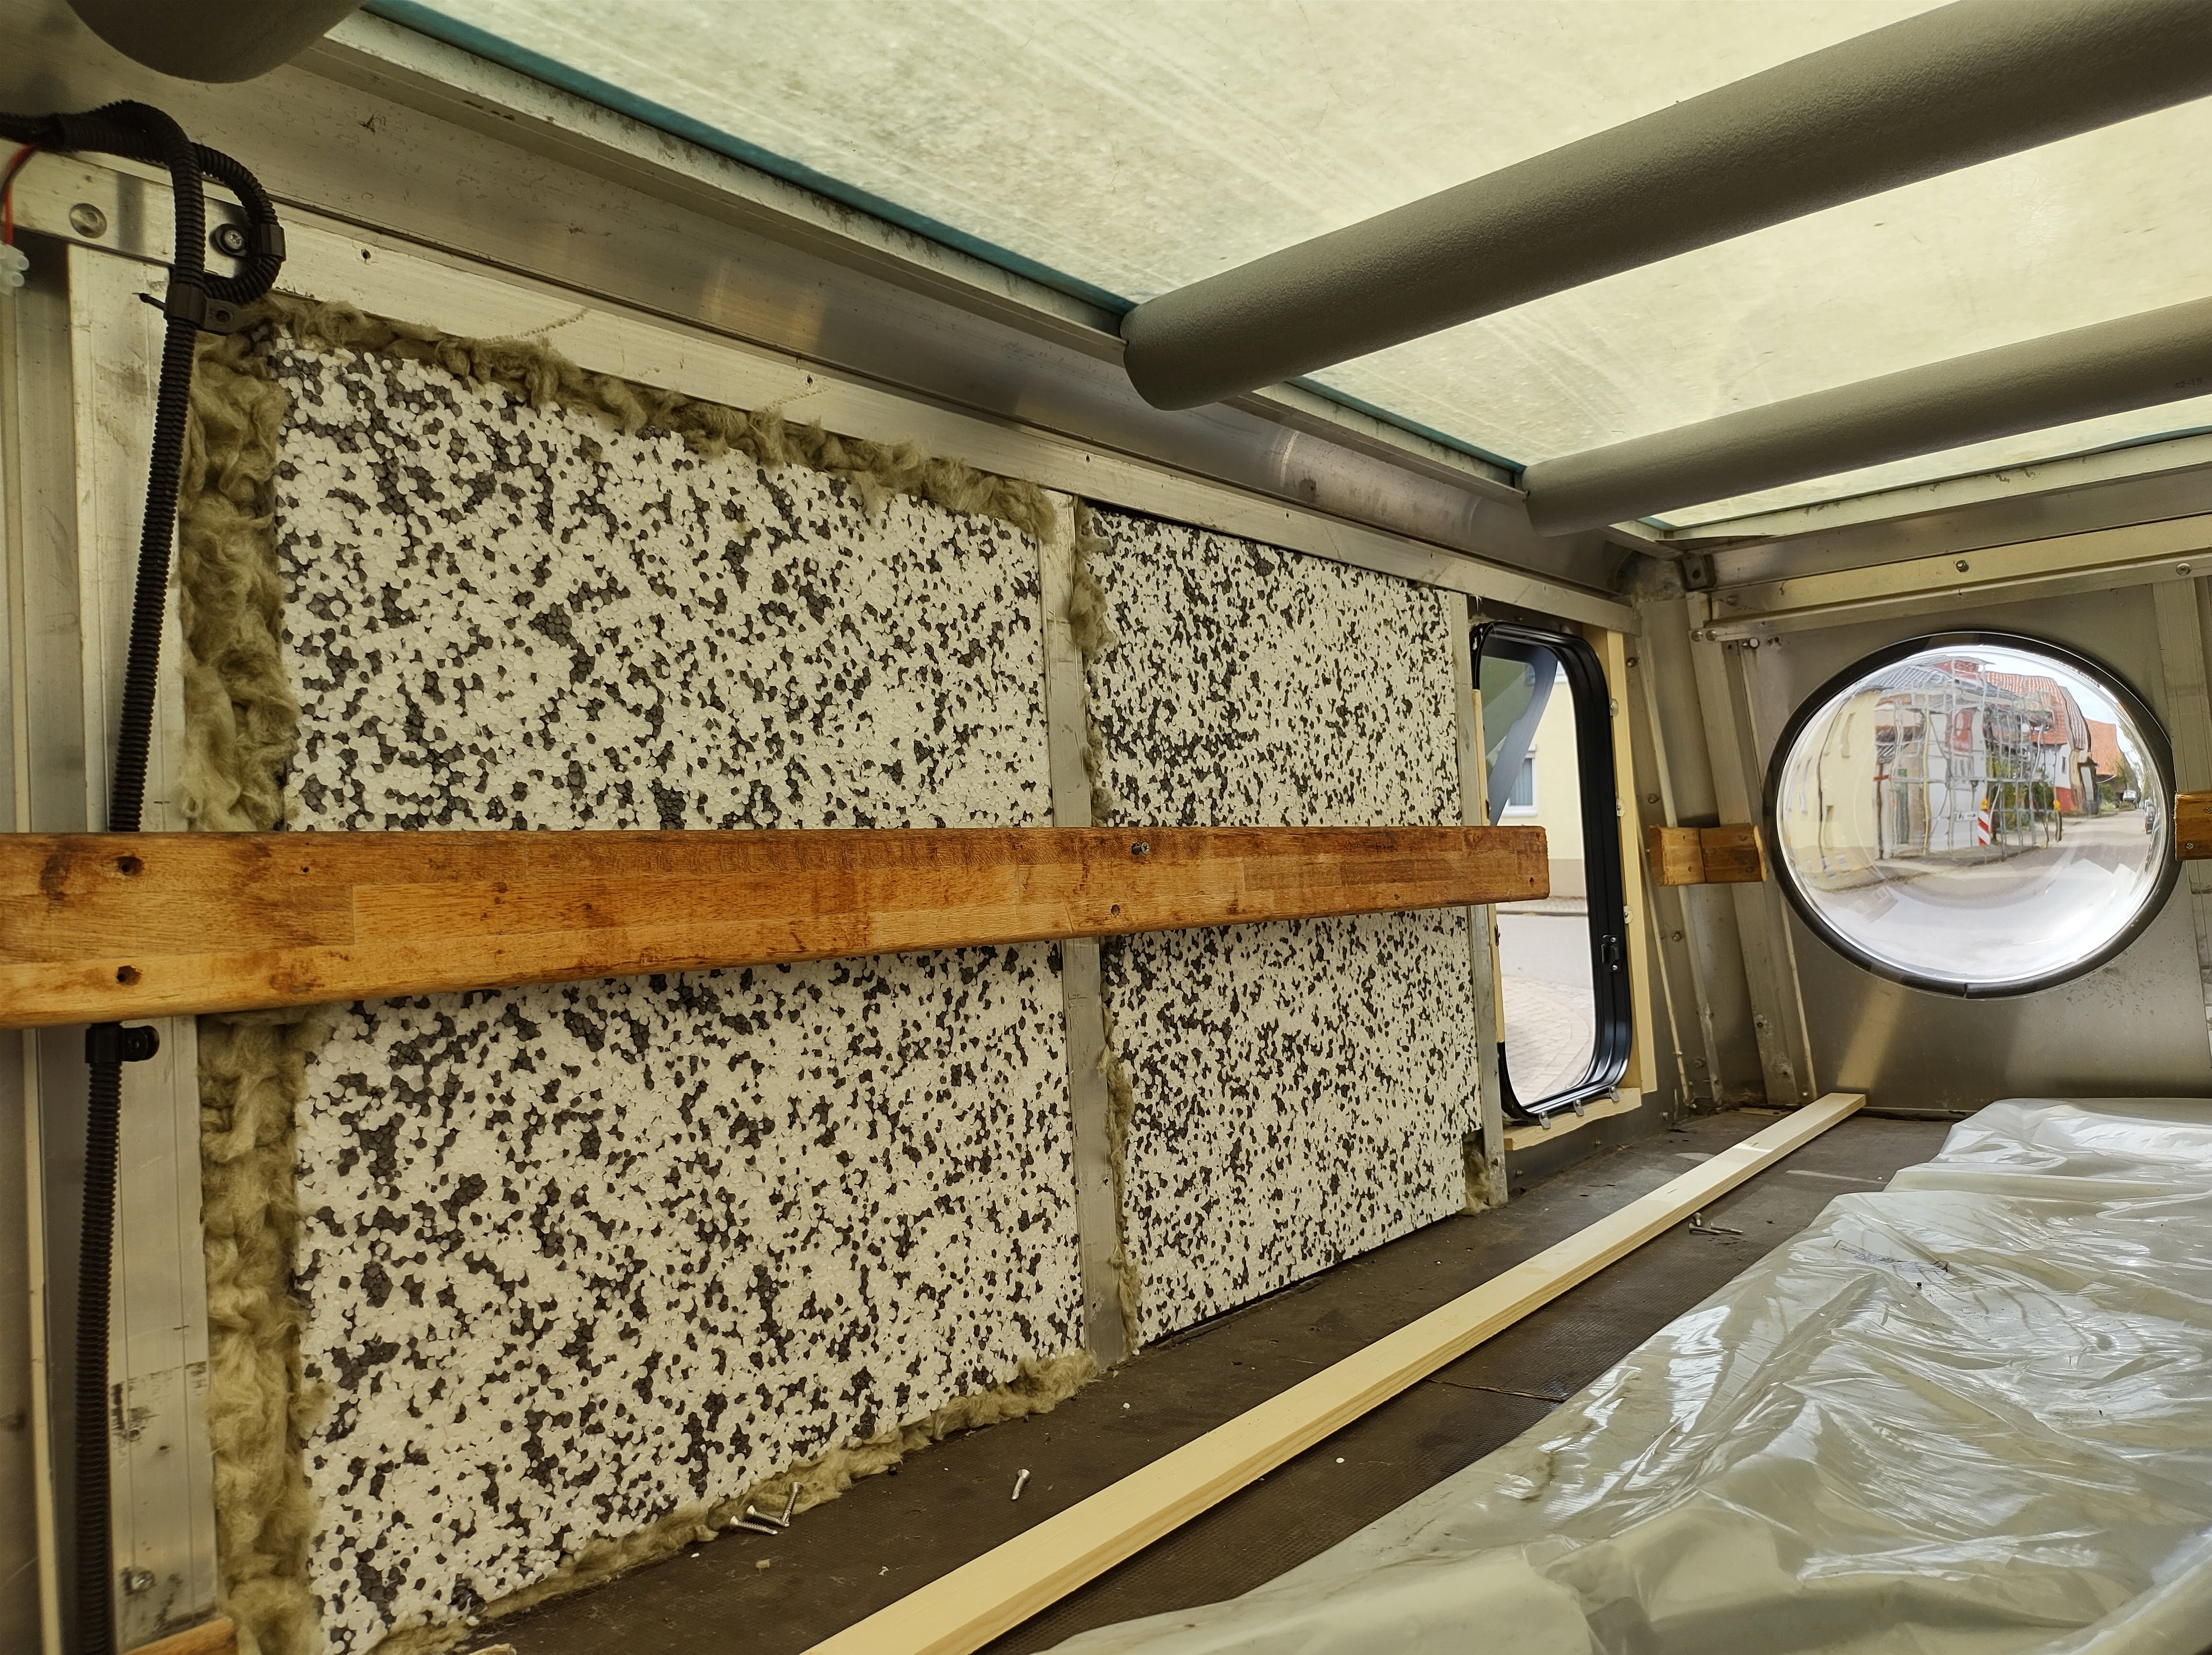


Before the wall cover could be added, the moisture trap foil needed to be glued. I had some relatively thick plastic foil left over from some packaging, and so I recycled this foil as my moisture trap. The purpose of this is to keep all humidity inside the van and away from the walls. When those walls are cold in winter, the humidity would condense when it hits the walls, and then water droplets would appear. Everyone knows this effect, when sitting in a car in winter without having motor or heating on: the windows fog up very quickly.


 |
| The first two panels are in place. |
 |
| Three panel segments are in place. |
I added the matrasses and bedding again, as it had been before.


.
No comments:
Post a Comment