Showing posts with label wall. Show all posts

Tuesday, 5 August 2025

More Progress

Since a few days the weather is ideal for camper conversion activities: the rain has stopped, but there is not yet that deadly sunshine which makes working in the camper impossible - at 55 deg C it is very difficult to make productive work.

A few bits of progress today:

Got the final piece of fuel pipe adaptor from Amazon, connecting pipes of 6mm to 8mm inner diameter. Connected the fuel pump and 2 filters. Now all the pipes from the diesel heater and its tank are completed.

I also affixed a wooden bar which presses the red diesel fuel container down.


Still missing is the full enclosure of the Gaslow gas tank.

In addition I did affix the gas heater at the wall.


And I affixed the wall between bedroom and bathroom.


And finally I connected the two candle lights to electricity.


Behind the wall there is the electric connection for those candle lamps, including the Earth wire which is connected to the metal case.


Saturday, 11 May 2024

Enclosing the bathroom

For enclosing the bathroom, inside walls need to be built. Consideration is here both low weight and stability.

First a small vertical bar is mounted at the left side wall as an initial guide.


Important is that the wooden structure is attached to the stable metal structure of the roof.


Horizontal bars provide stability. Several of them are beech wood, known for its rigidity and hardness.


The panels are affixed to the wooden bars with small screws.


In the now enclosed bathroom a temporary self-contained wash basin with foot-punp and waste water container is placed.


Friday, 10 May 2024

Insulating the right side wall

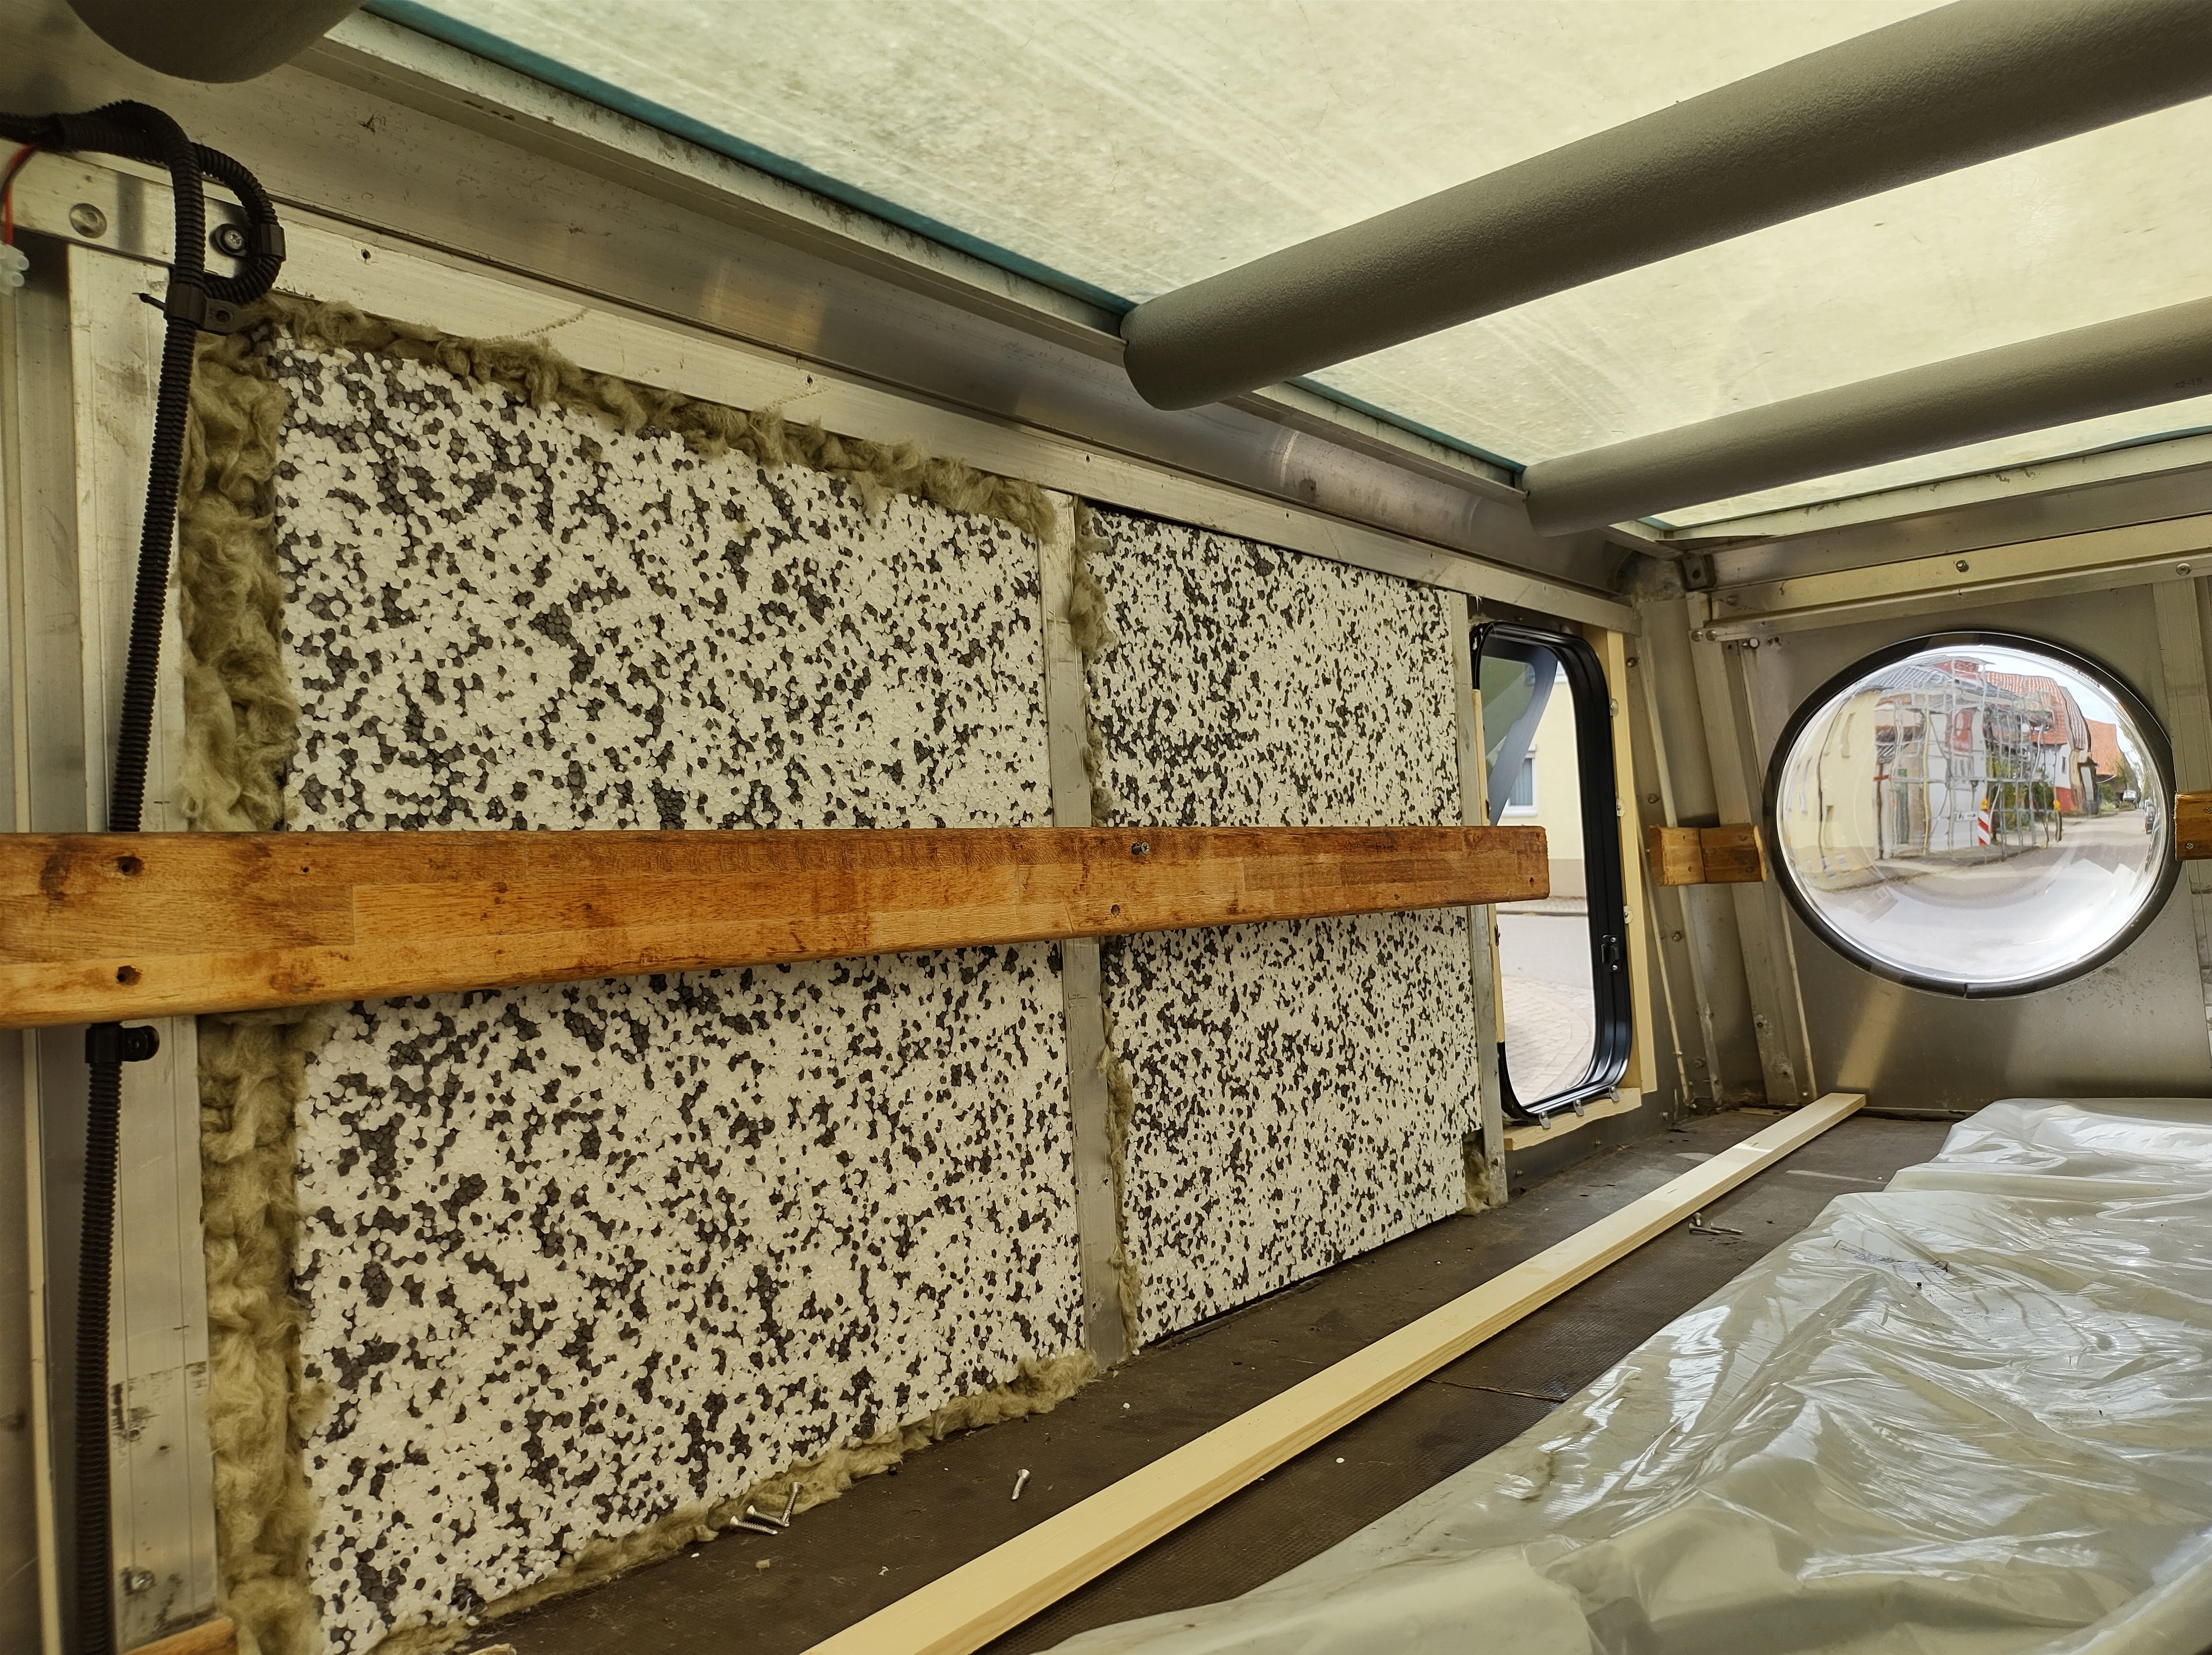
The right wall is now being prepared for the panelling. First a 3cm layer of Styrofoam is glued onto the aluminum wall. Then another 1cm Styrofoam is placed in between the horizontal wooden bars. Some of the cabling (to the two rear view cameras) is being re-routed in the cable channel on top of the wall.


Then a plastic foil is used as humidity seal.


Then the panelling can be attached with small screws that are drilled into the wooden bars. 
And then the extractor fan can be mounted on top of the wall.


Saturday, 14 October 2023

The wall at the windows side

Because of the rain I decided not to cut the other 3 windows, on the right side. Instead I focussed on the insulation of the wall with the existing 3 windows, then added the final panelling.

This is how it looks:


Still needed is a frame around the edges inside.

Using some small curtains which I had, I tried to give it a cosy look. But the center curtain is a bit too short. Need to get three curtains of the same kind.


These were the steps when adding the insulation:

The wall after the windows had been installed. No insulation yet.

The wall after adding the initial 3cm thick Styrofoam plates.

Filling the gaps with smaller Styrofoam pieces and with mineral wool.

Then adding a 1cm thick Styrofoam plate to cover the gaps between the horizontal wooden bars.

Then adding a plastic foil, as an air / humidity barrier. This is necessary to avoid internal condensation of the humid inside air at the cold outside metal walls. 

Then adding the GrossFillex wood imitation panelling. 

My neighbor Manfred scolded me for initially using nails to affix these panels. He gave me a set of narrow wood screws and an electric drill, so now the panels are attached with his screws onto the wooden bars.

Sunday, 17 September 2023

Preparing the first real and final wall segment inside the van

I wanted to progress at least one short section of the walls, to see if all is feasible what I had planned. Since soon I would want to use the camper again, I would need the bedroom. The windows are in, the solar panels attached, so there is nothing anymore which prevents me to try completing a whole brief section to its final specification.

I had bought Styrofoam in 2 thicknesses: 3cm and 1cm, plus a sack of mineral wool (Knauf product). I also had gotten high-temperature glue for attaching things to the walls, which could get very hot (50 deg C). 

First I removed completely the already rotten boards at the bottom and cleaned the groove as good as I could.

Bedroom, left side.

Bedroom, right side.


My friend and neighbor Bernd Grube has offered me to use his Styrofoam cutter. It cuts through Styrofoam with a hot wire and creates an excellent straight cut.


The first piece of 3cm-thick Styrofoam was then glued onto the first wall segment.


The gaps were filled with the mineral wool.

A second segment was done the same way. All the gaps were filled with the mineral wool, so that there would be no cavity where any air could heat up from the hot metal, when the vehicle stands in the sun.


In top of that Styrofoam, another 1cm cover of Styrofoam was added, to cover also the metal beams which segmented the wall.


And voila, the wall is completely isolated. Near the roof I also had to glue Styrofoam pieces to cover the metal. I also added two boards at the top and at the bottom, to provide a way of attaching the final wall cover and other things.


Before the wall cover could be added, the moisture trap foil needed to be glued. I had some relatively thick plastic foil left over from some packaging, and so I recycled this foil as my moisture trap. The purpose of this is to keep all humidity inside the van and away from the walls. When those walls are cold in winter, the humidity would condense when it hits the walls, and then water droplets would appear. Everyone knows this effect, when sitting in a car in winter without having motor or heating on: the windows fog up very quickly. 


And then finally my first pieces of the GrossFillex wall panels (from Globus Baumarkt) could be attached.


I decided not to glue them onto the wall, because in case I ever would need to remove them, that would destroy the plastic foil and properly also the panels. So I affixed them with thin nails, which easily can be removed if necessary.

The first two panels are in place.

Three panel segments are in place.

Now one can much better imagine who the bedroom will look in the future.

I added the matrasses and bedding again, as it had been before.


I also could not resist to place that little art work photograph to the only wall where it would fit. Is not yet attached, just leans against the not yet finished wall on the right side of the vehicle.


That little yellow lamp has its own history: I had it since the early 1970s in my bedroom. There were two of these, but this is the one that survived. Still works, now with LED bulb.


.